How to Clean Wooden Floors Without Leaving Streaks
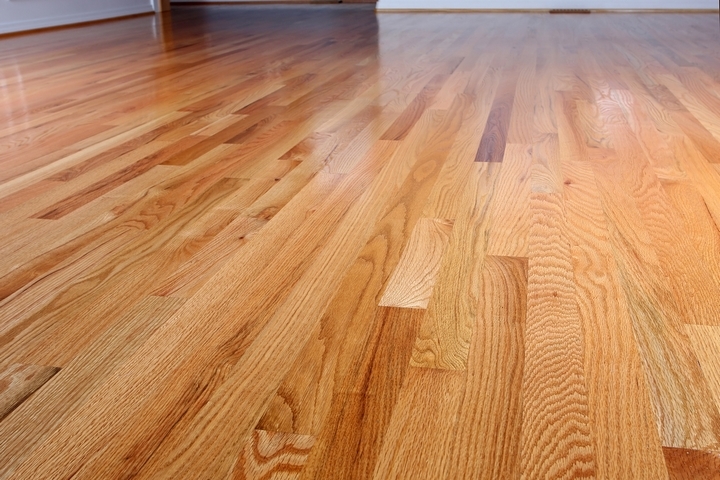
Nothing makes your house look cleaner than sparkling, streak-free wood floors. Many think that achieving this perfect, glossy shine is only possible with industrial-style buffers. Fortunately, that’s not true! Today, we will share the secret to achieving the floors you have always dreamed of.
If your wood floors are starting to look dull, there is no need to replace them or even give them a new finish. In most cases, all it takes to spruce up dingy hardwood is a thorough cleaning. Using the proper tools and the correct method, you can quickly and easily remove all traces of dirt and grime. Your engineered hardwood flooring will become crystal clean, without any signs of streaks.
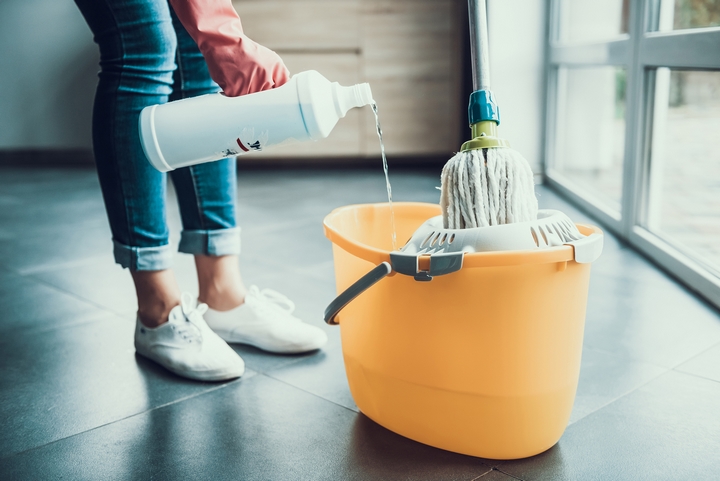
To get glistening wooden floors, you will need a broom, good quality mop, liquid dishwashing detergent, a bucket (preferably with a wringer), and a microfiber cloth. You will also need to invest some elbow grease and a little bit of time.
Once you have all of your equipment handy, just follow these easy steps:
Step #1: Sweep the wooden floors
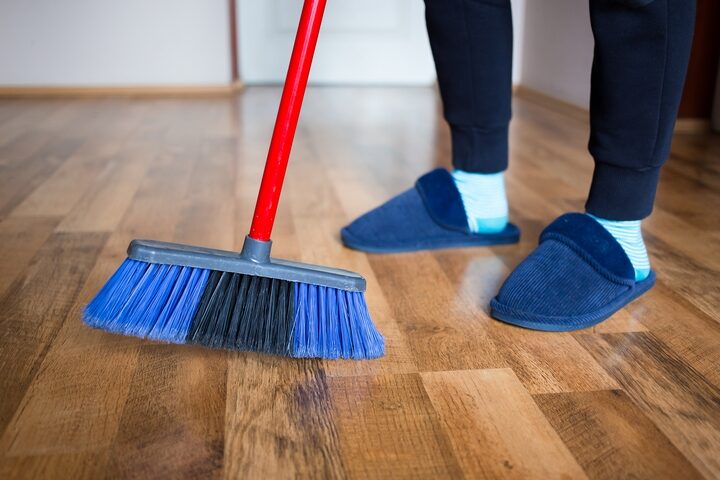
The first step you need to follow to obtain crystal-clean floors is to sweep them. This will remove any dust and debris that could minimize their shine. Gently sweep in one direction, starting from one end of the room, and work towards the other meticulously.
Step #2: Use distilled water on the wooden floors
Water that has been distilled contains fewer minerals than regular tap water. Distilled water is purer and will provide a better level of cleanliness, leaving fewer streaks and residue behind. You can purchase distilled water in jugs at your local grocery store.
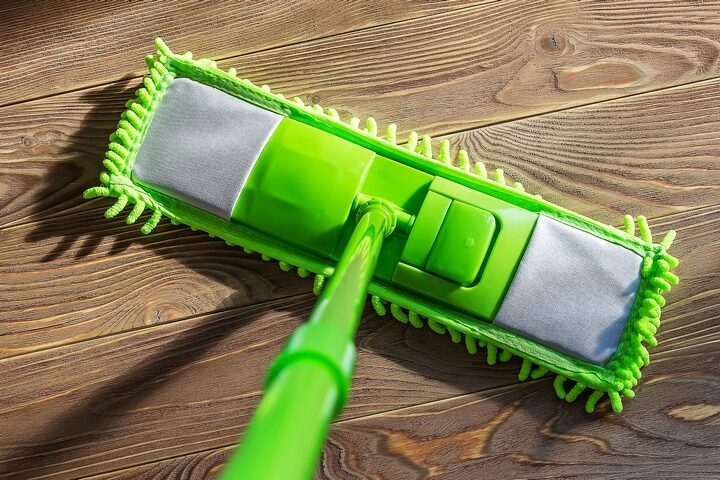
Step #3: Mop the wooden floors
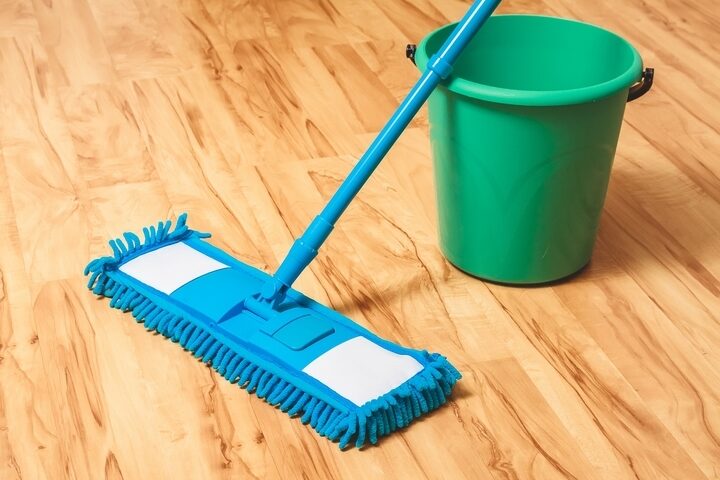
Next, you can begin mopping your floor. Start at one side of the room and mop in a back and forth motion, going in the same direction as the wood grain. Rinse your mop and continue to mop until the entire floor has been cleaned. Work as quickly as possible to prevent floors from drying on their own.
Step #4: Spot clean any grimy areas
If you notice any built-up dirt, use a wet washcloth to gently scrape it away. You may need to use some warm water, a tiny amount of dish soap, and a bit of force to work off any grime that is stuck on. Take care not to scratch your floors while scraping off debris.
Step #5: Rinse, wring, and mop again
Now that all dust and dirt has been removed from your wood floors, it’s time to give them one more mopping. If the distilled water in your bucket has changed colour and is beginning to look dirty, dump it out.
Refill your bucket with clean distilled water. Rinse out your mop well to ensure no leftover dirt in the mop head, and then mop your floors again. Once again, be sure to mop in the direction of the grain of your wood.
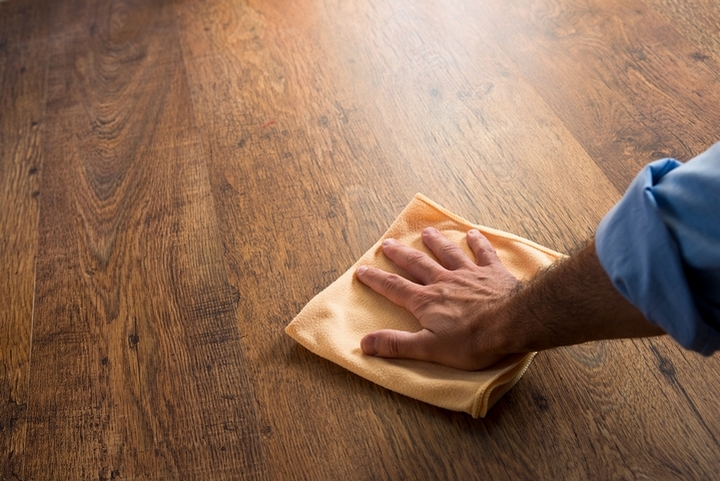
Step #6: Buff the wooden floors
By this time, your floors should be starting to sparkle. All that is left is to dry them and give them a good buff. This will help bring out the shine and look brand new once again.
To do so, use a microfiber cloth. These clothes are extremely absorbent and are very soft. They will soak up any excess water that may remain on your floors and successfully remove any watermarks. Work across your floors on your hands and knees and gently buff them. They will be clean and streak-free in no time!
This cleaning method is excellent no matter what type of wood floors you have. It is gentle enough to be used on any hardwood finish without damaging the wood. You must never use any type of oil, furniture spray, or wax on your hardwood floors. These products can leave a greasy residue that attracts dust and dirt, causing them to stick.
This will make your floors look dull and make them more difficult to clean in the future. These products can also cause your floors to become extremely slippery. This can make them very dangerous to walk on.